

Looking for Pride makeup looks and ideas for every skill level? Pride makeup is about expression, not perfection. You don’t even need a kit full of professional brushes or hours of practice to pull off something you’re genuinely proud of. This guide covers 35 Pride makeup looks across every skill level from easy ideas you can try in minutes to those bold, more detailed designs for when you want to spend more time creating. You can explore different makeup styles to inspire your pride look before diving in.
Key Takeaways
- There are pride makeup looks from beginner, eye-focused and full-face to bold categories
- There is something for every skill level and time budget, from 5 minutes to 45+
- Eye makeup is the easiest place to start for beginners
- Full-face and editorial looks are where things get really creative
- The right prep and products make a huge difference to how long your look lasts
What Makes Pride Makeup Unique
Pride makeup is one of those spaces where more colour, more sparkle, and more boldness is actively encouraged. It is where a look that took ten minutes is just as valid as something that took all afternoon.
Many pride-inspired looks draw inspiration from the rainbow flag. Red represents life, orange is for healing, yellow for sunlight, green for nature, blue for harmony, violet for spirit. Modern Pride makeup goes way beyond the classic rainbow.
Things like monochromatic looks, pastel washes, editorial body art, graphic liner all belong here.
A few things that cut across every pride look, whatever the style:
- Colour is used as an identity, not just decoration
- There are no wrong choices. Subtle and dramatic are equally valid
- It works across all skin tones, genders, and experience levels
- Personal meaning matters more than technical perfection
Beginner Easy Pride Makeup Looks
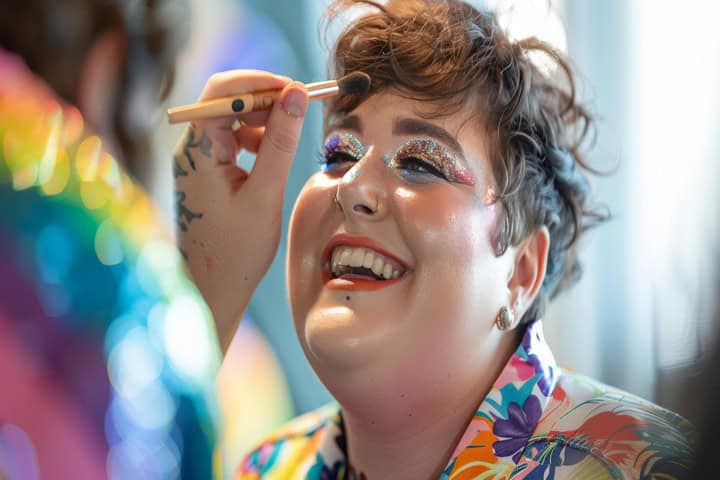

These are the looks to start with if you’re new to colour or just short on time. The good thing is that none of them need blending skills. They take something like 15 minutes.
- Rainbow Liner (Simple Version): Use individual felt-tip liner pens to draw thin stripes of red, orange, yellow, green, blue, and violet along the upper lash line.
- Inner Corner Pop: Press a single vivid shade like electric blue, hot pink or lime, into the inner corners only. Add mascara and you’re done, genuinely takes two minutes.
- Single Bold Lid: Sweep one bright eyeshadow across the whole lid using your fingertip. Fuchsia, cobalt, or burnt orange all work brilliantly on their own.
- Glitter Accent Eye: Pat chunky glitter or a sparkle powder onto the upper lid or beneath the brow bone and leave everything else bare. Ben Nye’s Lumiere Luxe Sparkle Powders come in eight shades and work beautifully pressed on dry with a fingertip.
- Coloured Mascara: Swap black mascara for something vivid. Blue on top, pink on the bottom lashes is a classic combo that still turns heads.
- Soft Pastel Rainbow Wash: Use a fluffy brush to dust pastel pink, lilac, and sky blue loosely across the lid. The colours don’t need to be perfect, soft and blended is the whole point.
- Face Gem Arc: Stick gems in a rainbow arc from temple to temple across the nose bridge, or cluster them under one eye. Zero makeup skill needed.
- Minimal Rainbow Under-Eye Liner: Draw tiny fine stripes of rainbow colour just beneath the lower lash line. Keep them close together so the effect reads as a full rainbow on the skin.
- Monochrome Pride Wash: Pick one colour from the flag. Be it violet, cobalt, or deep red, and apply it softly across both lids, blending up toward the crease. Quiet, wearable, and genuinely beautiful.
| Tip: Prep Your Skin First
Before you go near any colour, it’s a good idea to prep your skin so colourful Pride makeup lasts longer. |
Simple Pride Eye Makeup Ideas
Eyes are the most versatile canvas for Pride looks. These 12 ideas cover liner, shadow, gems, and glitter, ranging from genuinely simple to slightly more involved.
1. Rainbow Winged Liner
Build a classic flick using coloured liners stacked from the lash line upward, one stripe per colour. Keep edges clean and finish with a sharp wing point.
2. Floating Crease Liner
Draw a curved line of colour above the crease, not on the lid itself. Leave the lid bare underneath, the contrast is the whole look.
3. Gradient Eyeshadow Blend
Blend three shades from lash line to brow, yellow into orange into red works well, as does pink into violet into deep blue.
Use a clean brush at each transition to stop them muddying together.
4. Graphic Neon Liner Shapes
Dots, dashes, triangles, swirls, draw geometric shapes in neon liner across the lid or under the eye.
Good if you prefer something structured over blended.
5. Soft Pastel Rainbow Eye
Apply pastel shades in horizontal bands across the lid, keeping saturation low. Baby pink, mint, lavender, and peach together make a really soft, pretty Pride eye.
6. Jewel-Accent Corners
Press gems at the inner and outer corners in a V-shape or arc. Pair with a clean, neutral lid so the gems read clearly against the skin.
7. Split-Tone Liner
One colour on the upper lash line, a contrasting one on the lower. Deep navy on top, hot pink below is a classic, but any two colours from opposite ends of the spectrum work.
8. Smudged Rainbow Smokey Eye
Apply individual rainbow shades to the lash line and smudge them outward with a flat brush.
You’re going for diffused and atmospheric rather than sharp and precise.
9. Negative Space Rainbow Liner
Keep the lid completely bare. Draw a series of fine rainbow-coloured lines above the natural crease so they appear to float above the lid.
10. Double-Wing Liner
Two parallel wings extending from the outer corner: one dark (navy, plum) and one bright (gold, neon green). It looks more complex than it is.
11. Halo Eye Pride Blend
Dark shade at the inner and outer corners, vivid colour at the centre of the lid to catch the light.
Deep purple at the corners with magenta in the middle is a great starting combination.
12. Gem Lower Lash Trail
Tiny gems trailing from the inner corner downward along the lower lash line, tapering to a single gem at the outer edge.
For gem and glitter looks, add shimmer and dimension with professional sparkle pigments.
Full-Face Pride Makeup Looks
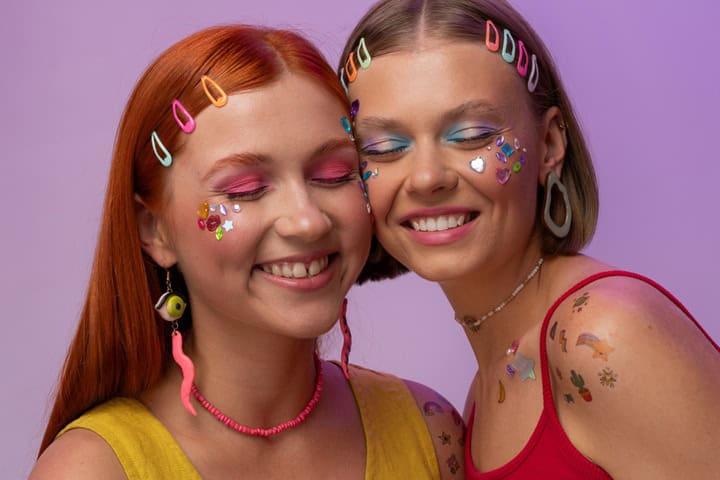
Once you’re comfortable with eye looks, the rest of the face opens up. These looks use blush, contour, highlight, and lips alongside the eyes for a full canvas approach.
- Rainbow Blush Draping: Sweep coral, rose, mauve, and lilac blush diagonally from the temples through the cheekbones. Blend where the shades meet and leave the rest untouched.
- Colour-Block Face Design: Divide the face into solid geometric sections, each in a different colour. Use tape or a guide to keep the edges crisp.
- Matching Lip and Eye Harmony: Take one colour family, cobalt, for example, and carry it through both the lid and the lip. Deliberate and editorial without being complicated.
- Face Gem Mapping: Plan a gem layout before you start: over the brows, framing the cheekbones, or cascading from one eye. Sketch it out first so it feels intentional, not random.
- Split-Tone Face Art: Divide the face vertically at the nose and apply a warm palette on one side (red, orange, gold) and a cool palette on the other (blue, violet, silver).
- Cheek-to-Temple Ombre: Start with vivid orange at the cheekbone, graduate through rose pink, and finish with deep violet at the temples. Build the colour slowly and blend thoroughly at each stage.
- Rainbow Contour Sculpt: Swap your standard contour shades for colour. Deep blue in the hollows, vivid orange on the cheekbones, yellow along the brow bone. It sounds chaotic but photographs beautifully.
- Soft Rainbow Wash: Dilute pigments on a damp sponge and apply across the full face in a watercolour-style wash. Sheer, ethereal, and nothing like the heavy rainbow looks most people default to.
| Pro Tip: Layering Full-Face Colour
Build colour in thin layers rather than going heavy. Multiple light coats give you more control over the final result, and they’re much easier to correct if something doesn’t look right. |
Bold Pride Makeup Looks for Festivals & Events
These looks are built for the parade, the stage, or the kind of event where you want people to stop and stare.
They take longer and need more kit, but the results speak for themselves.
- Neon Editorial: High-voltage neon shadow (lime, magenta, electric blue) on a clean base with a matching neon lip. Goes under UV lighting particularly well.
- Heavy Glitter Layering: Skin-safe adhesive first, then press chunky rainbow glitter onto lids, brows, cheekbones, and collar. Mix glitter sizes for depth.
- Body Paint Extension: Take the face makeup onto the neck, shoulders, or arms. Water-activated professional body paint gives the cleanest coverage on larger areas without cracking or patchiness.
- Metallic Rainbow Face Art: Metallic face paint in gold, silver, copper, rose gold, and iridescent white across the face. Foiled, high-shine, and unforgettable under stage lighting.
- Dramatic Graphic Liner: Oversized wings, enormous swirls, geometric forms over the entire lid. Use black as a base layer, then fill shapes with vivid colour so they pop against the outline.
- Full Waterproof Festival Look: Waterproof everything, from mascara to lip liner. Set the whole look with a professional barrier spray so it holds through heat, sweat, and dancing.
For body paint and large-scale designs, create bold Pride designs using professional face and body paint.
How to Make Pride Makeup Last Longer
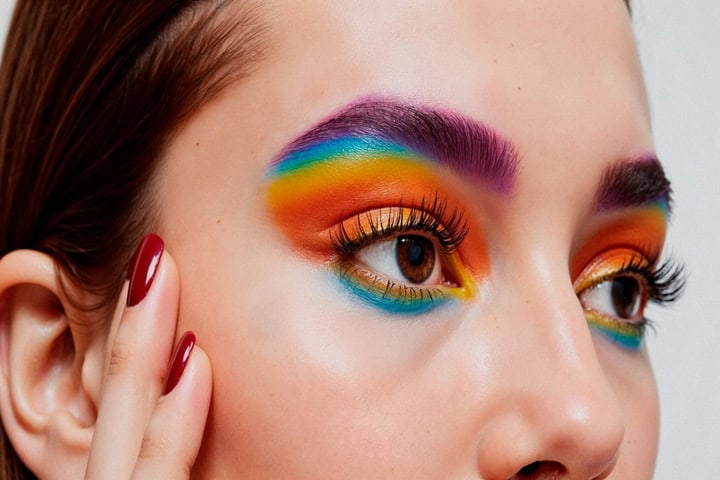
Pride is usually a long day. Sun, heat, crowds, it all takes a toll on makeup. These steps keep your look going from morning to midnight.
- Prep your skin before anything else, a proper prep product controls oil and gives colour something to grip onto.
- Use eyeshadow primer on the lids before applying any colour. This single step stops creasing more than anything else.
- Work in layers, cream products under powder, and let each layer set before adding the next.
- Seal it with a barrier or finishing spray, especially for face and body paint. It adds water resistance and keeps everything in place.
- Use waterproof mascara and liner. Tears, sweat, and rain will find your non-waterproof products.
- Bring a small touch-up kit, a mirror, cotton buds, and your two or three key products will cover most fixes.
Find Your Perfect Pride Makeup Style
Still not sure where to start? This table matches your skill level and available time to the right category of look.
| Skill Level | Time Needed | Best Occasion | Recommended Looks |
|---|---|---|---|
| Beginner | 5–15 mins | Pride parade, casual day out | Coloured mascara, glitter liner, gem dots |
| Intermediate | 20–40 mins | Festival, party, Pride march | Gradient eye, rainbow liner, blush draping |
| Bold / Editorial | 45 mins+ | Performances, parades, content shoots | Face paint, full-face art, body paint extension |
And if the classic rainbow isn’t really you, there are other directions worth exploring:
- Monochrome: pick one colour from the flag and go deep into it across multiple products
- Minimalist: a single gem or stripe of colour is a Pride look
- Editorial: treat the face and body as one canvas and go all in
Final Thoughts
The only rule with Pride makeup is that it should feel like you. Start with whatever you’re comfortable with, even one stripe of colour or a single gem counts. Then push a little further each time.
When you’re ready to get serious about colour payoff and wear time, the right products make a real difference.
From professional sparkle pigments to water-activated body paint, investing in formulations built for performance means your look keeps up with the day.
Frequently Asked Questions
What is the easiest Pride makeup look for beginners?
Face gems or a single bold lid colour, both take under five minutes and need no blending. Coloured mascara is another easy win: just swap black for blue, violet, or green and you’ve already got a Pride look.
Can Pride makeup be subtle?
Absolutely. A soft monochromatic eye, a tiny rainbow of liner under the lash line, or a gem at the inner corner are all valid. Subtle Pride makeup is just as intentional as the full editorial version.
What colours work best for Pride eye makeup?
The full rainbow is always an option, but two or three complementary shades often look stronger than trying to fit all six on one lid. Pink and violet, blue and green, or orange and yellow blend well together without going muddy.
How do you stop rainbow makeup from turning muddy?
Apply in thin layers and only blend at the edges where colours meet, not across the whole look. Switch to a clean brush between colours, and build saturation gradually rather than loading on product all at once.
How long does Pride makeup usually last?
With skin prep, an eyeshadow primer, and a setting or barrier spray, most looks hold up for 8 to 12 hours. Outdoors in summer heat, professional-grade formulations with waterproof ingredients are worth the investment.


Hey there! I’m Isabelle Kerrington, and I’m thrilled to share my passion for the performing arts through my blog. Focusing on theatre makeup, my posts will cover everything from product recommendations to helpful tips and engaging tutorials. Join me on this exciting journey as we explore the magical world of theatre makeup together.