
Life casting (also called lifecasting) is the process of creating a highly accurate mould directly from a body part; such as a hand, foot, or face, and using it to produce a detailed, three-dimensional replica. It’s an accessible technique for beginners, especially those interested in sculpture, SFX makeup, prop building, or creative keepsakes.
With simple materials like Alginate and plaster, even first-time casters can achieve impressive results. This guide covers everything you need to get started, including tools, preparation, popular materials, mould-making methods, and clear step-by-step instructions.
Browse Alginate and slow-set Alginate
Key Takeaways
- Life casting creates a precise mould from the body, capturing pores, lines, and realistic texture.
- Beginners can start with simple materials such as Alginate and casting plaster.
- Protective preparation and release agents help prevent sticking and damage.
- Different moulding methods suit different project types and detail levels.
- Lifecasting is used in art, theatre, SFX makeup, education, and personal keepsakes.
What Is Life Casting?
Life casting is the process of taking an impression directly from the body, creating a mould that preserves fine detail and natural form. Unlike sculpting, which relies on interpretation, lifecasting captures exact shapes and textures.
It’s widely used for:
- Creating prosthetic bases for theatre and SFX
- Making busts for sculptors and mask-makers
- Prop creation for performance
- Baby hand and foot keepsakes
- Educational anatomical models
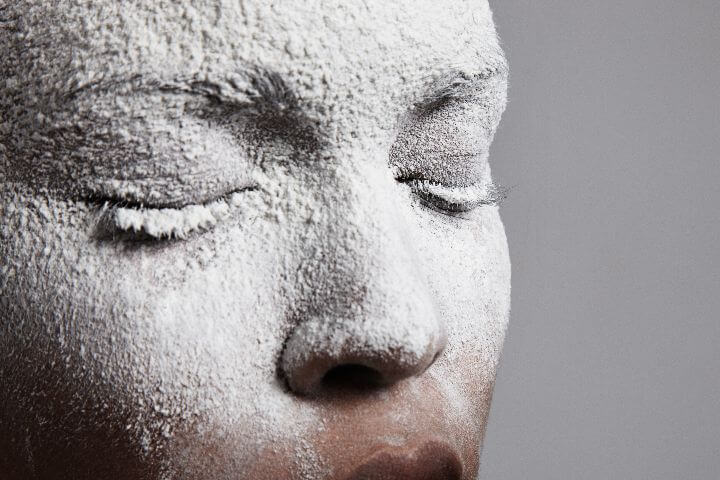
The accuracy achieved is one of its biggest advantages — every fold, wrinkle, and contour is recorded with remarkable clarity.
Getting Started With Life Casting
Choosing a Suitable First Project
Beginners get the best results by starting with simple shapes. Good first projects include:
- A single hand
- Two hands holding
- A foot or baby foot
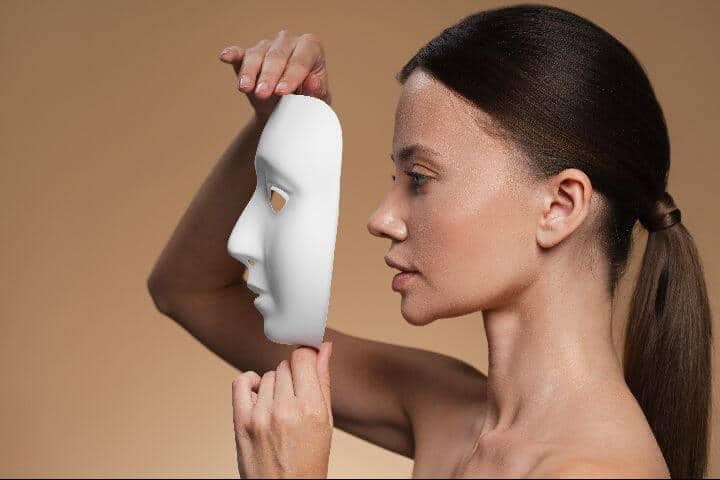
- Facial impressions with closed eyes
- Small decorative objects
Large or full-torso casts require more experience, more material, and precise timing, so they’re best saved for later.
What You’ll Need
A basic beginner setup usually includes:
- Alginate
- Slow-set Alginate
- Mixing bucket
- Wooden spatula
- Plaster bandages
- Casting plaster or resin
- Release agent or petroleum jelly
- Towels, sheets, and protective coverings
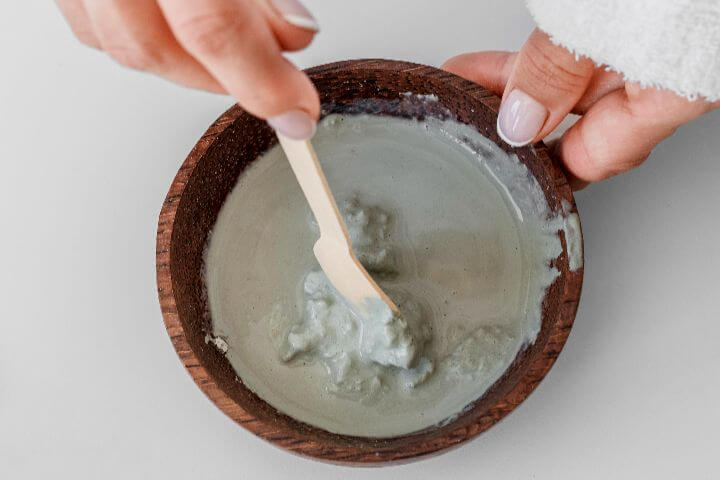
Alginate is ideal for beginners because it’s skin-safe, fast-setting, comfortable, and captures excellent detail.
Safety and Preparation
Life casting is safe when done correctly. The main considerations are hair protection, temperature, and good communication with the model.
- Apply petroleum jelly to brows, facial hair, and fine arm hair.
- Use room-temperature water to avoid sudden heating.
- Never cast the full face without airways or an assistant.
- Keep the ventilation good when using plaster or resin.
Methods and Materials in Lifecasting
Popular Materials
Alginate
A natural, skin-safe material ideal for hands, feet, and baby casts. It sets quickly and captures good detail.
Plaster Bandages
These create a strong outer shell to support flexible moulds, such as Alginate.
Silicone
Used for professional-grade, highly detailed, and reusable moulds. For more on silicone choices, find out what is the best silicone for mould making.
Resin & Plaster (for final casts)
Plaster is excellent for beginners. Resin produces durable, long-term pieces.
Mould Making Tools
Useful tools include:
- Buckets or mixing containers
- Spatulas, wooden spoons, or mixers
- Brushes (for silicone application)
- Release agents (skin-safe or object-safe)
- Plaster bandages for reinforcement
A simple comparison:
| Material | Detail Level | Best For | Reusable? |
| Alginate | High | Hands, feet, face | No |
| Silicone | Very high | Props, prosthetics, sculptures | Yes |
| Plaster | Medium | Final casts | N/A |
Techniques in Lifecasting
Direct Moulding
This is the simplest and most common method. The material is applied directly to the body to create a fast, clean impression. Perfect for hands, feet, and face impressions.
Layering Techniques
This method builds up silicone in thin layers. It’s ideal for faces, sculptures, and parts of the body where detail needs to be built slowly and evenly.
Support Shells & Mother Moulds
Soft mould materials need a rigid outer layer to maintain shape. Plaster bandages, fibreglass, or resin shells are often used.
Tip: Avoiding Air Pockets
- Pour Alginate slowly
- Tap the container gently
- Brush silicone into deep areas before pouring
Basics of Mould Making
Types of Moulds
One-piece moulds
Best for hands, feet, and simple shapes with shallow undercuts.
Two-part moulds
Used for more complex shapes that need to be separated into two halves.
Multi-part moulds
Reserved for advanced projects like sculptures, masks, and objects with deep undercuts.
Mould Release Agents
Release agents ensure a clean separation between skin, Alginate, silicone, or plaster.
Common options include:
- Petroleum jelly
- Skin-safe spray releases
- Soap-based solutions for plaster separation
Benefits of Using Release Agents
- Cleaner removal
- Less tearing
- Improved detail preservation
- Longer mould life
- Reduced risk of mould distortion
Steps in Lifecasting
Beginner Step-By-Step Process
- Prepare the skin or surface
Apply petroleum jelly to any hair, and ensure the area is clean and dry. - Mix Alginate or slow-set Alginate
Use the recommended ratio of powder to water. Cool water slows the set time; warm water speeds it up. - Submerge the body part
The model must stay still while the material sets. - Create a reinforcement shell
Build up plaster bandages over the setting Alginate to hold the shape. - Remove the mould
Gently wiggle the body part free once the Alginate is fully set. - Pour the casting material
Fill the mould with plaster or resin. Tap gently to release trapped bubbles. - Demould and finish
Remove the Alginate once the cast has hardened. Sand or refine details if needed.
Common issues beginners encounter with life casting include:
- Pouring Alginate too thin
- Moving during the setting time
- Removing the cast too early
- Not supporting the mould fully
Replicating Sculptures and Objects
Why Artists Use Lifecasting for Object Replication
Lifecasting isn’t just for bodies — it’s also used to reproduce sculptures and textured objects. Artists and prop makers rely on it to:
- Preserve original works
- Create copies for display
- Build bases for sculpting
- Capture fine details for SFX pieces
The Process
Replicating objects generally involves:
- Using silicone for fine detail
- Applying release agents to protect the original
- Building a rigid outer shell
- Pouring plaster, resin, or polyurethane for the final cast
The Versatility of Lifecasting
Lifecasting is used across creative and practical fields, including:
- Art & sculpture — detailed busts, figurative pieces
- Theatre & SFX makeup — prosthetic bases, character masks, custom props
- Medical & educational models
- Keepsakes & memorials — baby hand casts, pet paw casts, holding-hands sculptures
Example: Baby hand and foot casts are a popular keepsake because they preserve a moment in time with incredible precision.
Lifecasting Tutorials and Resources
Written Tutorials and Alternative Techniques
Once you understand basic life casting, you can explore:
- Alginate alternatives for longer sessions
- Basic silicone lifecasting
- Two-part mould techniques
- THOM blog guides like: what is the best silicone for mould making
Learning Through Practice
Practise by casting small objects, experimenting with mixing ratios, and learning how different materials set. Repetition builds confidence and improves accuracy.
A helpful resource on safe practice:
https://medium.com/@EdMcCormick7/precautions-during-life-casting-6069318c0b8
Importance of Lifecasting
Lifecasting matters because it offers unrivalled realism. In theatre and SFX, accurate casts form the base for masks, prosthetics, and props that need to fit the performer perfectly. For families, lifecasting creates emotional keepsakes. For artists, it’s an invaluable reference for shape, texture, anatomy, and proportion.
Life casting is a rewarding, beginner-friendly technique that allows you to capture realistic forms for artwork, performance, keepsakes, and more. With materials like Alginate and simple tools, anyone can produce accurate, detailed casts at home. As your confidence grows, you can explore silicone techniques, multi-part moulds, and advanced sculptural projects.
FAQs
Is life casting safe for beginners to try at home?
Yes, as long as you use skin-safe materials, prepare hair properly, and avoid full-face casts without assistance.
What materials do I need to start a simple life casting project?
Alginate or slow-set Alginate, plaster bandages, casting plaster, a container, and basic mixing tools.
How long does a typical life cast take to set and cure?
Alginate sets in 1-5 minutes, depending on water temperature. Plaster casts take around an hour to harden and up to 24 hours to fully cure.
What’s the difference between Alginate and silicone?
Alginate is fast-setting and ideal for one-off moulds. Silicone sets more slowly, captures finer detail, and is reusable.
Can you life cast objects as well as body parts?
Yes, lifecasting is often used to duplicate sculptures, figurines, and textured objects for art and prop work.


Hey there! I’m Isabelle Kerrington, and I’m thrilled to share my passion for the performing arts through my blog. Focusing on theatre makeup, my posts will cover everything from product recommendations to helpful tips and engaging tutorials. Join me on this exciting journey as we explore the magical world of theatre makeup together.