Face Contouring: How to Contour Face Shapes, From Oval to Round
13th February, 2025
Transform your natural glow with this guide on how to contour face shapes, including oval and round.
Contouring is a revolutionary makeup technique that sculpts the face, improving the quality of your natural features and defining structure. Knowing how to contour can elevate your makeup game, bringing attention to your best features while subtly concealing others. In this article, you will learn about the essentials of face contouring alongside other makeup tips, from contour placement to finding where to contour for various face shapes. By the end of this article, you will have a thorough understanding about face contouring makeup and how to contour faces.
What Is Face Contouring?
Contouring is a prestigious art form that transforms the face, improving and defining its natural structure through delicate makeup application.
At its core, contouring is about playing with light and shadow to reshape and resize features, creating an illusion of depth and definition. The secret to successful face contouring lies in knowing where to contour. Proper contour placement can elevate the appearance of your cheekbones, slim the face, and give an overall more sculpted appearance.
For the best contouring application, use our tropical contours studio palette.
Balancing Light and Shadow For Face Contouring Placement
To know how to contour effectively, one must understand the balance of light and shadow. Applying a lighter, illuminating product highlights areas you want to emphasise, making them more prominent.
Furthermore, applying a darker contour shade adds depth, sculpting the face in areas where shadows naturally occur. This technique is crucial for achieving the desired effect without overdoing it, which is essential for faces like the oblong shape, where too much contouring can result in an overly sharp, aged look.
Contouring vs. Bronzing
While both contouring and bronzing adjust the face’s dimension, they serve different purposes. Bronzing adds a warm, sun-kissed radiance using warmer shades, often with a hint of shimmer or a matte finish.
Contouring, however, uses cooler tones to create natural-looking shadows, enhancing the face’s structure with a primarily matte finish.
Preparing Your Skin for Contouring
Efficient face contouring starts with a solid skincare regimen.
Hydrated, happy skin provides the perfect canvas, making makeup application smoother and more effective. Begin with double cleansing to unclog pores and promote a radiant complexion, followed by liquid exfoliation to remove dead skin cells.
Moisturising is next, locking in hydration, with serums applied afterward to address specific concerns like dryness or fine lines. Remember, SPF is a non-negotiable final step in the morning to protect your skin.
Knowing whether to apply primer or moisturiser first is essential knowledge when prepping your skin for contouring.
Cream or Powder Contour
Deciding whether to use a cream or powder contour depends on your experience level and the finish you desire.
Cream contours are ideal for beginners and those seeking a natural, blended look, as they are more forgiving and easier to work with. They blend seamlessly into the skin without accentuating dryness or fine lines.
Powder contours, while offering a more matte finish, require a more practised hand to ensure a flawless blend and avoid a patchy appearance.
How To Contour Your Face
Step-by-step: Quick and Easy Face Contouring
Contouring doesn’t have to be complicated. Here’s a simple, expert-approved method to get it right every time.
Contouring Your Cheekbones
Create the appearance of sculpted cheekbones by applying a shadow effect in your cheek hollows. First, use your fingers to locate the high points of your cheekbones and the recessed areas below them.
- Step 1: Imagine a diagonal line running from the top of your ear towards the corner of your mouth. You might find it helpful to use a straight edge to visualise this line—this is your contour line.
- Step 2: Apply a streak of cream contour along this imagined line, starting at the hairline. Extend it to the outer end of your eyebrow for a natural effect. For an added lift, curve the end upwards near your eye, similar to a sideways letter ‘J’.
- Step 3: Use a brush or your hand’s wider side to blend the contour smoothly into your foundation. If you overdo it, blend in a bit of your foundation to dial it back. Ensure symmetry by repeating the process on the other cheek.
Contouring Your Forehead
Adjust the perceived shape of your forehead by contouring around the hairline, using circular motions.
- For a smaller-looking forehead, dab contour cream along your hairline from one temple to the other. Smooth the product in a semi-circle using your fingers or a brush.
- Blend the contour so it’s darkest near the hairline and fades inward.
- To make a narrow forehead appear wider, apply contour primarily to the sides, blending inward.
- For a lifted appearance, apply the contour to your temples and blend into your base. Enhance the lift by applying a light cream highlight above the contour line to brighten the eye area—ideal for making hooded eyes.
Contouring Your Jawline
A defined jawline can be achieved through contouring, which becomes especially useful with age.
- Apply a small amount of contour on your fingertips or a brush and sweep along the jawline to create a shadow. This makes the jaw appear sharper and more defined. Focus more on the sides or the bottom edge, based on your desired level of definition.
- Continue to blend the contour until it integrates flawlessly with your makeup, showcasing a sharper jawline.
Contouring Your Eye Area
Reduce the look of puffiness and give your eyes a more lifted, awake appearance by contouring around them. This could also be helpful for those that want to know how to hide eye bags.
- Picture a line from the outer corner of your nose to just above the temple near your brow bone. You might want to use a ruler again for better precision.
- Apply a sweep of cream contour along this line, from the eye crease to the brow, and blend well. To bring a lifted effect, extend the line above the eyebrow, fading the color up toward the hairline.
Check out our recommendations for choosing the best makeup brushes for any application task.
Tailored Contouring Techniques for Every Face Shape
Understanding your face shape is crucial in mastering face contouring. Here’s how to contour based on different facial structures, ensuring you highlight your best features.
Contouring for an Oblong/Oval Face Shape
Oblong or oval faces are longer than they are wide, often lacking defined angles. To contour an oblong face:
- Apply the contour along the hairline to reduce forehead height, creating an illusion of a shorter face. For cheekbones, contour should start from the ears and taper off midway on the cheeks to enhance facial dimensions.
- Highlighting under the eyes and on the brow bone can bring focus to the centre of the face, balancing the overall length.
Contouring for a Diamond Face Shape
Diamond faces have broad cheekbones with a narrow forehead and jawline.
- Contour below the cheekbones, starting from the ears to the middle of the cheeks, to elevate the face’s natural angles.
- Avoid extending the contour too close to the mouth to maintain the face’s natural harmony.
- Highlight under the eyes and along the forehead and chin to soften the pronounced cheekbones and balance the face’s width.
Contouring for a Heart Face Shape
Heart-shaped faces feature a wider forehead and a narrow chin.
- Contour along the sides of the forehead and temples to minimise the forehead’s width, and apply along the jawline to enhance the chin’s delicate point.
- Highlighting under the eyes and on the forehead and chin helps to balance the face’s upper and lower halves.
Contouring for a Round Face Shape
Round faces are characterised by their width and height being almost the same, with soft angles.
- Contouring around the forehead and temples can elongate the face, while applying contour below the cheekbones from the ears to the cheeks, then down to the jawline, can sculpt and define the face.
- Highlight under the eyes, on the forehead, and chin to add dimension and focus to the centre of the face.
Contouring for a Square/Rectangle Face Shape
Square and rectangle faces have equal face length and width, with a pronounced jawline.
- Contour around the sides of the forehead and temples to soften the face’s edges.
- Apply contour along the hairline to reduce forehead space and below the cheekbones to improve the facial structure.
- Slim the jaw by contouring under the jawbone, and highlight under the eyes, on the forehead, and chin to add a soft glow and create balance.
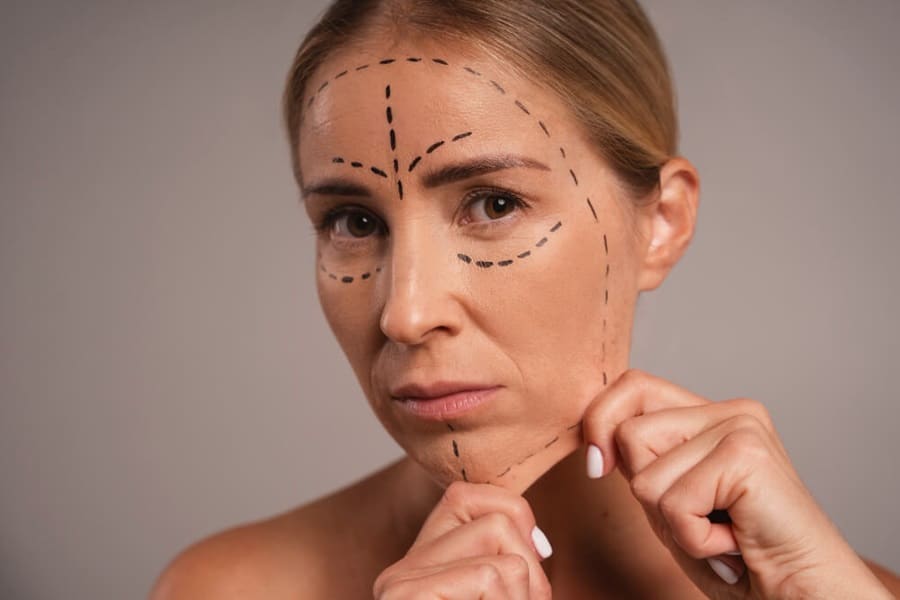
Can Age Affect How You Contour?
Contouring isn’t just for the young; it’s a technique that can evolve with age, adapting to changes in facial structure due to the natural loss of collagen and elastin. While the face shape remains the guide for where to contour, the method and intensity may vary with age. Older individuals may benefit from subtle contouring to lift and define features, while younger users might opt for more defined contouring. It’s all about improving your natural bone structure and achieving a look that feels right for you, regardless of age.
Contouring Mistakes To Avoid
To avoid common contouring errors, consider these tips:
- Do not use contour products that may appear too dark or warm on your natural skin tone. This can cause it to appear muddy or unnatural.
- Being heavy handed with your contour can lead to harsh lines or streaks to appear.
- The whole face may not need contouring; doing this may lead to an unbalanced appearance.
- Only use clean brushes or sponges for even, seamless contouring to prevent patchiness or inconsistency.
Master How To Contour Face For Amateur or Professional Application
In conclusion, mastering the art of contouring and how to contour faces is about understanding your unique face shape and using strategic shadow and light placement to enhance your natural features. Whether you have an oblong, diamond, heart, round, or square face, the right contouring approach can redefine your facial structure, creating balance and highlighting your inherent beauty. Remember, contouring is a versatile skill that adapts with age, proving to be a timeless element in your beauty repertoire. Use our pigment powders to elevate your face further.
For more contouring advice, learn how to contour with a self tanner now.
FAQs
How do I make my face look contoured?
In what order do you contour your face?
Do you put foundation on before contouring?
Is contouring still popular?
What is brontouring?
Sources
Katz, A., (2024) How to Contour With Self Tanner for a Youthful, Sculpted Face — No Makeup Needed. Woman’s World [online] Available at: https://www.womansworld.com/posts/beauty/how-to-contour-with-self-tanner [accessed 10/04/24]
Hey there! I’m Isabelle Kerrington, and I’m thrilled to share my passion for the performing arts through my blog. Focusing on theatre makeup, my posts will cover everything from product recommendations to helpful tips and engaging tutorials. Join me on this exciting journey as we explore the magical world of theatre makeup together.