How To Use Scar Wax For Graphic Results
14th March, 2025
Scar wax stands as a staple in the special effects (SFX) and stage production makeup industries. Want to know how to use scar wax for graphic results? Find out now.
This versatile tool, perfect for creating wounds, injuries, and other skin effects, requires a thorough understanding for applying effectively. In this article, you will learn about how to use scar wax correctly, from preparation and application to removal, and how you can effectively use it in your bruise kit makeup too, for example.
Preparing to Use Scar Wax
Before you begin using scar wax, you should test the product on a small skin area. Doing this will determine how the skin reacts to the wax, especially in case you have allergic reactions to the product. This is why we prefer to use skin friendly, vegan ingredients in all of our theatre makeup products.
Equally important is the setting in which you work; a well-ventilated space will aid both comfort whilst applying the product as well as overall health. Make sure that you gather all the necessary equipment that you need to use your scar wax on. Remember, the right remover is just as important as the wax itself for a complete and safe makeup application and removal process.
Here are some tools and equipment that you should use in this process on how to use scar wax:
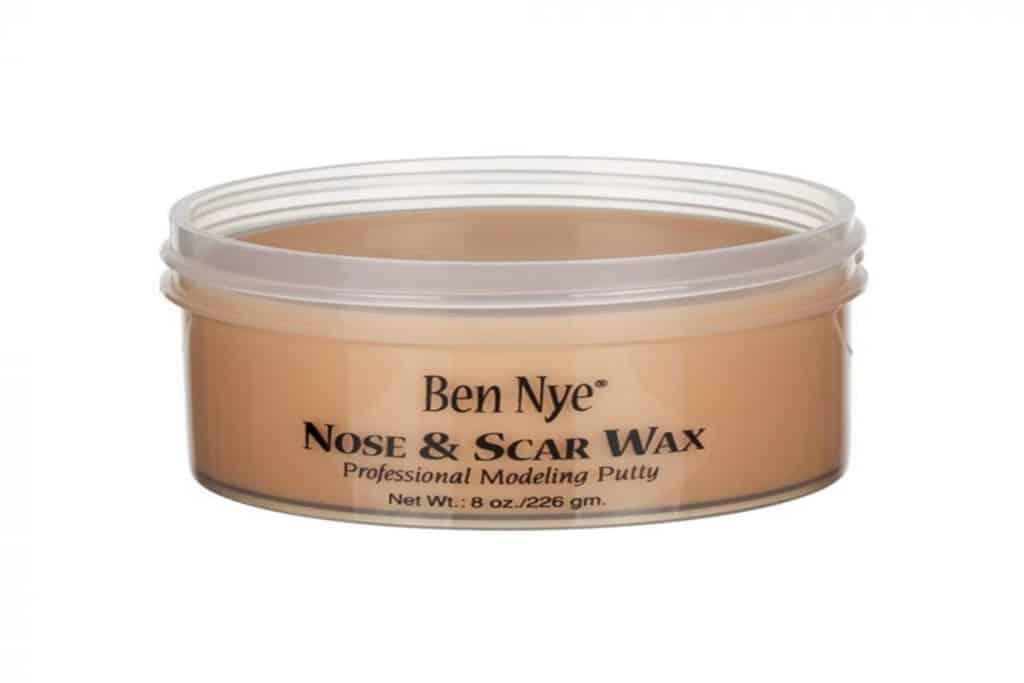
- Scar Wax/SFX Wax: The primary material you’ll be working with. This is available from several brands on our site, including Mehron.
- Spatula or Palette Knife: For sculpting and shaping the wax on the skin. Look for tools with a flat end for spreading and a pointed end for detail work, such as this Ben Nye Blending Spatula.
- Skin Adhesive ( Spirit Gum): To ensure the wax applies well to the skin, especially in areas prone to movement or if being worn for a long period of time, use spirit gum. And if you are unsure what is spirit gum, read our guide.
- Vaseline or Petroleum Jelly: To smooth the wax and prevent it from sticking to tools or fingers, allowing for an easier and smoother application.
- Cream Makeup: To tint the wax before application or to paint the wax after application, matching skin tones or creating effects like bruising or inflammation. To paint the wax, you can use body paints for a realistic look.
- Setting Powder: To reduce shine and set the wax, making it look more like skin and less like wax, such as this Mehron UltraFine setting powders.
- Remover (Makeup Remover): To safely and effectively remove the wax and adhesive from the skin without causing irritation.
- Brushes: For applying makeup or blood effects on and around the scar wax. Different sizes and shapes are useful for detailing and blending.
- Liquid Latex or Sealer: To seal the wax and makeup, making the application more durable and long-lasting, try Ben Nye liquid latex.
- Fake Blood: To add realism to injuries or effects, Ben Nye Stage Blood has various viscosities for different types of wounds (e.g., fresh, dried, dripping). You can also learn from us how to apply fake blood.
- Cotton Swabs or Balls: For blending edges, applying adhesives, or creating texture within the wax.
- Mannequin Head: Ideal for beginners or for practising techniques without applying directly to human skin, a Mehron face painting practice head offers a realistic surface texture.
- Clean Workspace and Disposable Gloves: To maintain hygiene and protect your skin from potential reactions to the materials.
- Digital Camera or Smartphone: To document your work, allowing you to review your progress and techniques over time. This will also be handy if you are filming a tutorial for YouTube or TikTok.
Understanding Scar Wax
Scar wax is a worthwhile investment in SFX makeup. Its main use is to simulate artificial wounds, injuries, and skin effects, adding a layer of realism to performances and costumes. However, for those new to using scar wax, the prospect can seem daunting.
Is liquid latex not your forte? Find out about these liquid latex alternatives.
How To Apply Scar Wax
Creating realistic wounds, cuts, and injuries with scar wax requires a blend of technique and artistry. The goal is to mimic real skin as closely as possible, making the presence of scar wax imperceptible.
Using tools such as a spatula, preferably non-sharp to prevent accidental injuries, allows for precise shaping and application of the wax. Brands like Mehron are notable for their high-quality spatulas, designed for both detailed work and efficient wax manipulation. Should you find the scar wax resistant or challenging to mould, a light application of Vaseline on the spatula can facilitate smoother adjustments.
Scar wax is most effective on firmer areas of the face or body, where underlying bones can provide a solid foundation for the wax to be shaped around. We advise that you avoid areas with extensive skin movement, such as around the mouth, as the motion can compromise the wax’s stability and appearance. Advance the wax’s colour with cream makeup before application can streamline the process, reducing the need for extensive post-application colouring.
In some cases, applying a skin adhesive prior to the scar wax can improve its durability and adherence to the skin. Techniques such as stippling with a sponge can add texture, creating a more lifelike skin appearance. If the scar wax is applied near the hairline, consider using a bald cap to achieve a more smoothed out skin texture.
If you’re trying to imitate a freshly injured face, you could incorporate tooth paint to mimic chipped or knocked out teeth.
Advanced Tips and Techniques
For those seeking to refine their scar wax applications, several advanced techniques can further improve realism:
- Using cream: Mixing the wax with a bit of cream makeup before application allows for a closer match to skin tone, reducing the time spent on colour correction.
- Sponges: Using a stipple sponge adds texture, mimicking the complexity of real skin. For long-lasting applications, consider sealing the wax with liquid latex or a castor sealer, especially if Vaseline has been used, to ensure the latex sets properly.
- Vaseline: Working with scar wax can sometimes be a sticky affair. To prevent this, lightly moistening your fingers or tools with water can make the wax more pliable. For a smoother application and blending, a dab of Vaseline or a professional under makeup base on your spatula or fingers can work wonders in seamlessly integrating the wax with the skin.
Explore Our Exclusive Makeup CollectionClick below to explore our curated collection and start your journey to a more glamorous you today! Find Professional Makeup |
How To Remove Scar Wax
Metal and plastic spatulas can provide different effects for your scar wax, whether it is sculpting or adjusting after applying.
If stage blood has been used, begin by wiping away as much as possible before cleansing with soap and water.
A non-sharp wax spatula is ideal for gently lifting the wax from the skin, with makeup remover aiding in clearing any residual material.
@theartge DIY Scar Wax tutorial. Beginner friendly SFX makeup tutorial. #makeup #sfxmakeupartist #makeupartist #diymakeup #diy #diyscarwax #artist #makeuptutorial
Create the Perfect Scar
Scar wax remains a valuable tool for SFX makeup artists, offering the flexibility to craft everything from simple cuts to complex injuries. With the right techniques, tools, and materials, the possibilities are endless, allowing for the creation of stunning, realistic makeup effects that captivate and horrify in equal measure. Check out other articles about prosthetics and SFX.
Wanna know how I got these scars? Learn about the most memorable movie characters with scars as inspiration with your scar wax makeup.
FAQs
How do you use scar wax for beginners?
How do you get scar wax to stay on?
Is scar wax supposed to be sticky?
Do you have to seal scar wax?
Sources
Nissley, T., (2023) 10 Most Memorable Movie Characters With a Facial Scar. Movie Web. [online] Available at: https://movieweb.com/iconic-movie-characters-with-facial-scars/ [accessed 19/02/24]
Hey there! I’m Isabelle Kerrington, and I’m thrilled to share my passion for the performing arts through my blog. Focusing on theatre makeup, my posts will cover everything from product recommendations to helpful tips and engaging tutorials. Join me on this exciting journey as we explore the magical world of theatre makeup together.